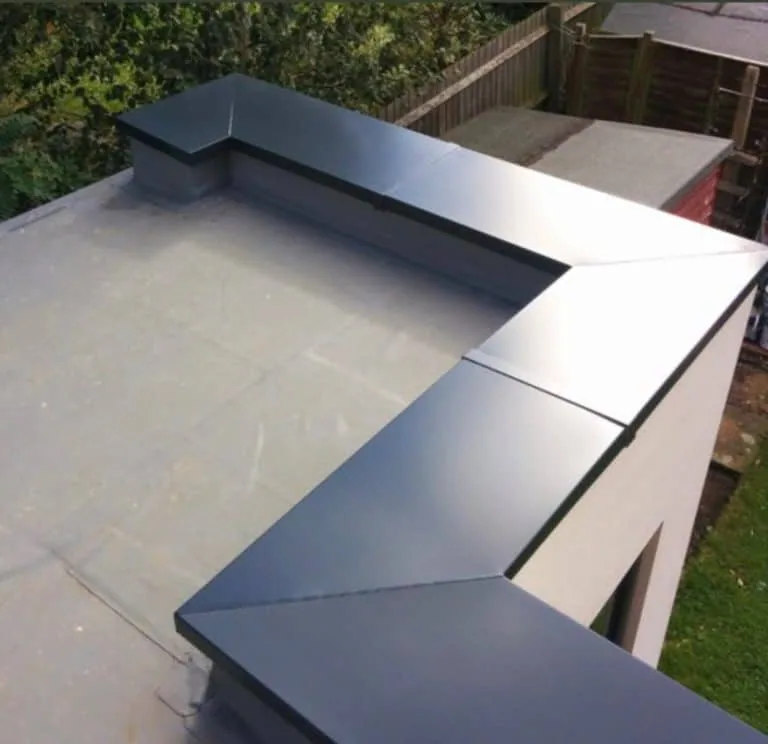
A loose termination, split seam, or failed curb detail can admit water long before the interior shows a stain. In Springfield, freeze and thaw cycles and snow weight put seasonal demand on membrane laps and drainage details. We inspect the affected roof section, trace the path to the entry point, and separate the repair area from nearby material that can stay. The 2011 tornado that crossed the city removed roofs from some commercial brick structures, so edge and perimeter conditions deserve a careful look when storm damage is part of the history. On buildings near Metro Center or along the State Street corridor, access and staging can also determine how the repair is sequenced.
Trace the failure
We start with the report from inside: which room is affected, whether the leak follows rain or thaw, and whether it appears near a wall, drain, or penetration. Water can move along the deck or insulation before it reaches the ceiling. On the roof, we compare that pattern with seams, patches, fasteners, edge metal, curbs, and drainage. A repair should reach the point where the assembly failed, not just cover the place where water became visible. Photos and a marked roof plan help connect the interior observation to the field condition.
The Springfield Medical District inventory described many medical and health service establishments and workers. On an occupied healthcare property, we coordinate access to the roof section above active rooms and keep service routes clear. An inspection notes what is wet, what is loose, and what remains sound. For a larger or hard-to-access area, a drone roof survey can add overview images, while hands-on checks confirm seams and details that images cannot resolve. We document the distinction before choosing a repair method.
For a leak that appears after a thaw, we check whether meltwater reached a drain or backed up behind an obstruction. A stain that appears only during wind-driven rain may point toward an exposed wall transition or perimeter detail. We note wind direction and timing when the building contact can provide them, then compare the report against roof conditions. Interior ceiling tiles or insulation should be protected while the inspection is underway. This gives the repair scope a defined start and limits unnecessary removal of material that is still bonded and dry.
Repair the assembly
Repair materials must suit the existing membrane and the condition around the defect. A patch over a dirty, wet, or poorly bonded surface may lift again. We clean and prepare the area, remove unsound material when needed, and form a compatible patch with the right overlap and edge treatment. For a failed seam, we inspect beyond the visible opening and check whether the surrounding membrane remains attached. For flashing, we look at the substrate and termination, not only the exposed sealant. A TPO seam repair and an EPDM patch require different materials and preparation.
Around the Smith & Wesson industrial site off Roosevelt Avenue, which city planning describes as room for industrial, commercial, or office buildings, roofs commonly carry penetrations, equipment rails, and long drainage runs, so the scope should list each detail to be repaired. If the membrane is brittle or failures repeat across a section, we compare localized work with a replacement assessment rather than extending patches without a clear limit.
Account for winter exposure
Snow and ice can block drains, load low areas, and hold water against a seam. The state’s ResilientMass plan identifies roof and structural damage from snow and ice weight as a severe-winter impact. We check drainage, surface condition, and the path water takes as temperatures change. A repair made during cold weather must follow the material limits for surface preparation and cure. If a permanent repair cannot be installed in the current conditions, we identify the temporary protection and return trigger in writing rather than treating the temporary measure as a completed fix.
After a damaging wind event, we check perimeter metal, flashing, membrane attachment, and debris impact across the affected area. The 2011 Springfield tornado is the local reference for that check, and we record the conditions found on the roof itself. A wind-damage repair review can separate immediate protection from the permanent scope, especially when several roof sections have different exposure or access constraints.
Keep the work controlled
Before work begins, we agree on a roof access route, lift or ladder location, fall protection, and the rooms or operations below the repair. A short repair still needs a safe work zone and a dry, secure closeout. If rooftop equipment must be protected or moved, that responsibility belongs in the scope. For a mixed-use property along State Street, delivery timing and public entrances may be part of the access plan. We identify them with the site contact so the repair crew can reach the roof without crossing an active tenant area.
We protect the opening while removing failed material, install the repair in the approved sequence, and check that its edges, seams, and terminations are secure. If rain threatens before materials cure, the team uses a suitable temporary cover and records the next step. For recurring trouble at drains or overflow points, a drain and scupper review can address the water path in addition to the membrane defect. This reduces the chance that the same condition remains after the patch.
Record what changed
The repair record should show the location, suspected cause, material used, limits of the completed work, and any adjacent condition left open. We attach before-and-after photographs and note whether moisture was visible or tested. If a repair is temporary, the record states what makes it temporary and when the owner should schedule the permanent work. A clear closeout lets a facility manager connect a future leak to the prior repair without relying on memory.
We review open items with the owner and set a practical trigger for reinspection, such as a recurring interior stain, a major storm, or the return of rooftop trades. For several buildings, a roof condition report can organize repairs by urgency and distinguish a local detail fix from broader membrane wear. Send the roof plan, leak timing, photos from inside, and access limits. We can inspect the area, explain what failed, and scope a repair that fits the assembly. A repair that is photographed, numbered, and tied to a roof section gives the next crew a starting point instead of a guess.
Commercial Roofing Questions
Why does a ceiling stain show up away from the roof opening?
Water can travel across insulation or along deck flutes before it reaches the room. We compare the interior pattern with drains, seams, curbs, and wall details above it.
Can you patch a seam in winter?
The repair depends on surface temperature, moisture, and the material’s installation limits. If a permanent bond is not possible, we document temporary protection and the return condition.
How do you know when repeated repairs are no longer useful?
We map the failures and compare them with membrane age, adhesion, wet areas, and surrounding seams. Widespread defects may support a replacement review instead of another isolated patch.
Will a drone identify every roof defect?
Drone images show layout and visible surface changes. Hands-on checks are still needed to test seam adhesion, flashing, moisture, and the condition beneath the membrane.
What do you provide after a repair?
We provide the repair location, photographs, materials and limits, plus any remaining condition and the next inspection trigger. Temporary protection is labeled clearly.